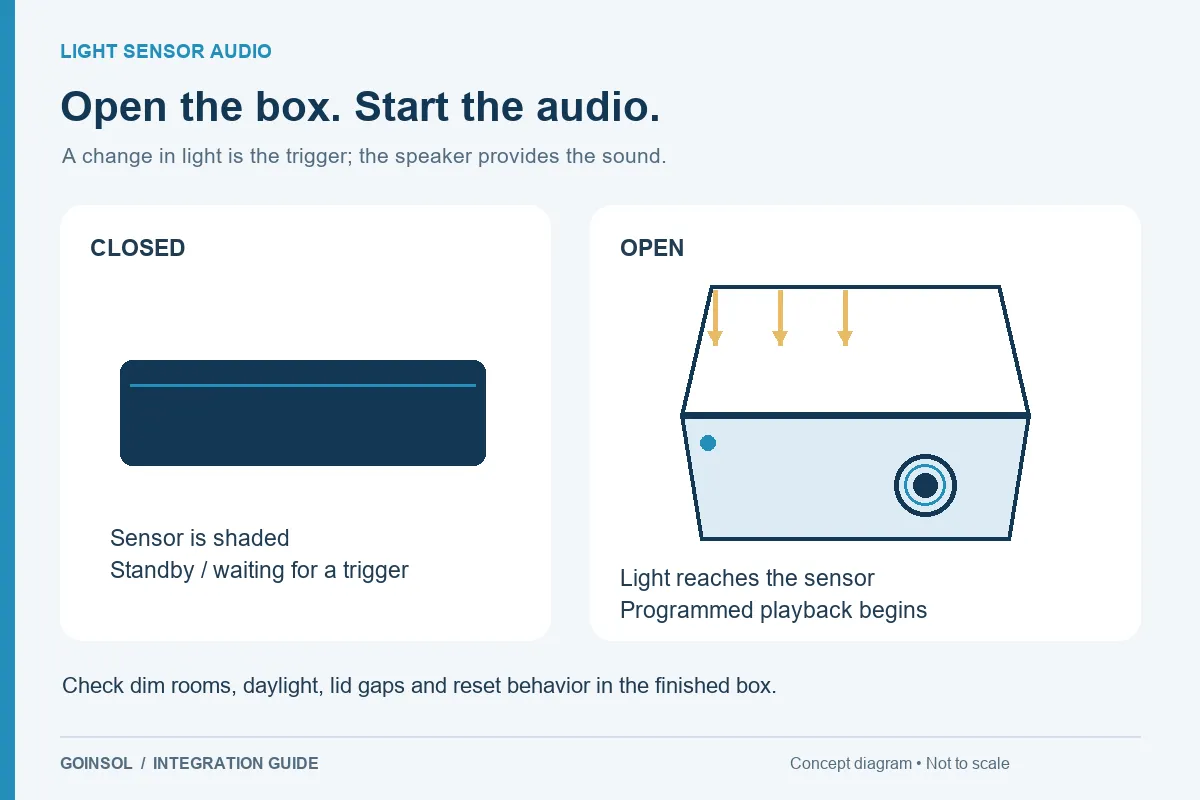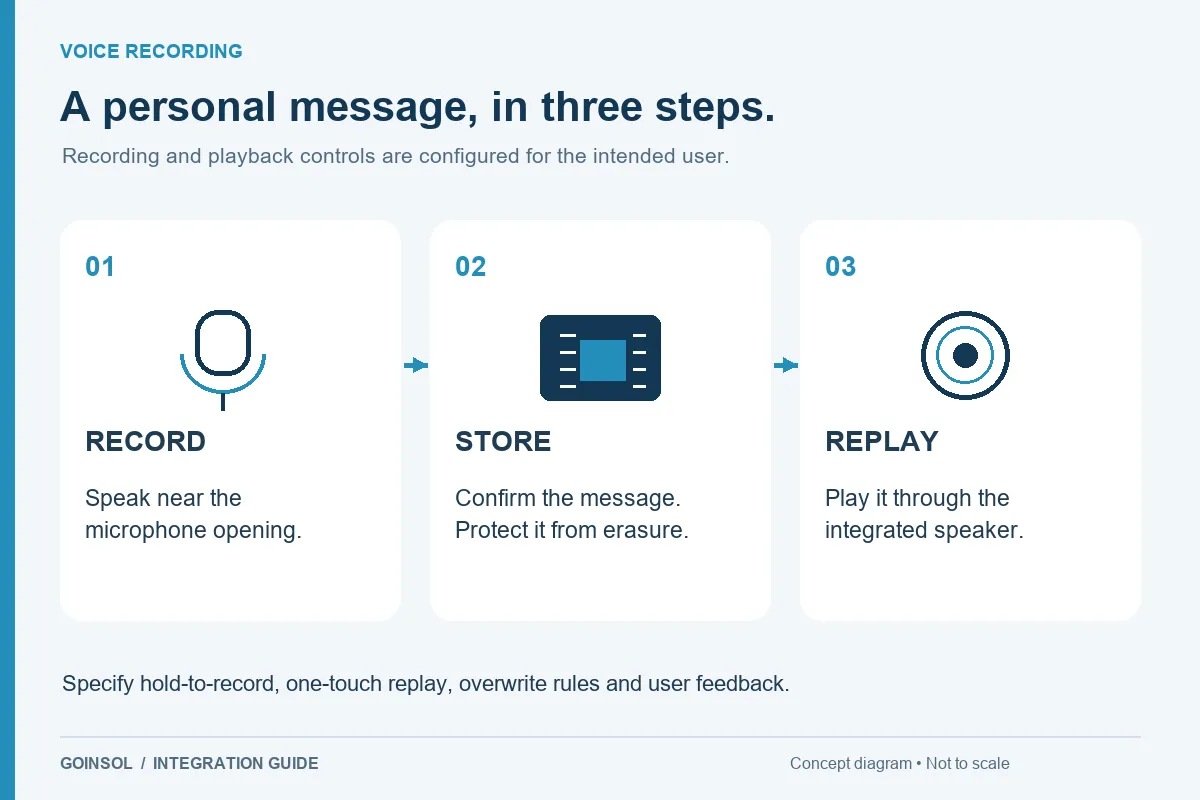
Specify illumination, color, diffusion, controls and power around the object the recipient should see.
A custom LED module provides illumination or a programmed light effect in a product, display or package. For a jewelry or gift box, the most useful starting point is the visual result: what should the recipient notice when the box opens? LED quantity alone does not describe that result. Position, beam direction, surrounding material, diffuser, brightness and timing all shape the presentation.
1. Define illumination or decoration
An illumination project should make the object easier to see. A decorative effect might create a soft outline, a pulsing accent or a color sequence. Combining the two is possible as a design goal, but the brief should identify the priority. For a reflective watch or polished pendant, uncontrolled light can create glare. For a dark insert, a small bright point may disappear into the surrounding material without a useful reflection path. Share the actual gift and finish where possible.
2. Specify color in a useful way
Describe whether the light should appear warm white, neutral white, a single color or a sequence of colors. If color consistency is important, agree a more measurable target and a way to evaluate it with the supplier. Do not treat a screen image as an exact color standard: camera white balance, editing and display settings change the appearance. Judge the sample beside the product in the expected environment.
3. Review LED placement and diffusion
Show the LED locations on a drawing, the recipient's viewing direction and any parts that must remain hidden. A diffuser spreads the visible light and can reduce hotspots, but it also changes output. A light guide can move or shape the illumination, although it adds its own mechanical and optical requirements. Discuss the material, thickness and mounting arrangement rather than assuming the electronics alone can produce a uniform illuminated surface. Evaluate the final insert and lining together with the module.
4. Describe the effect as a sequence
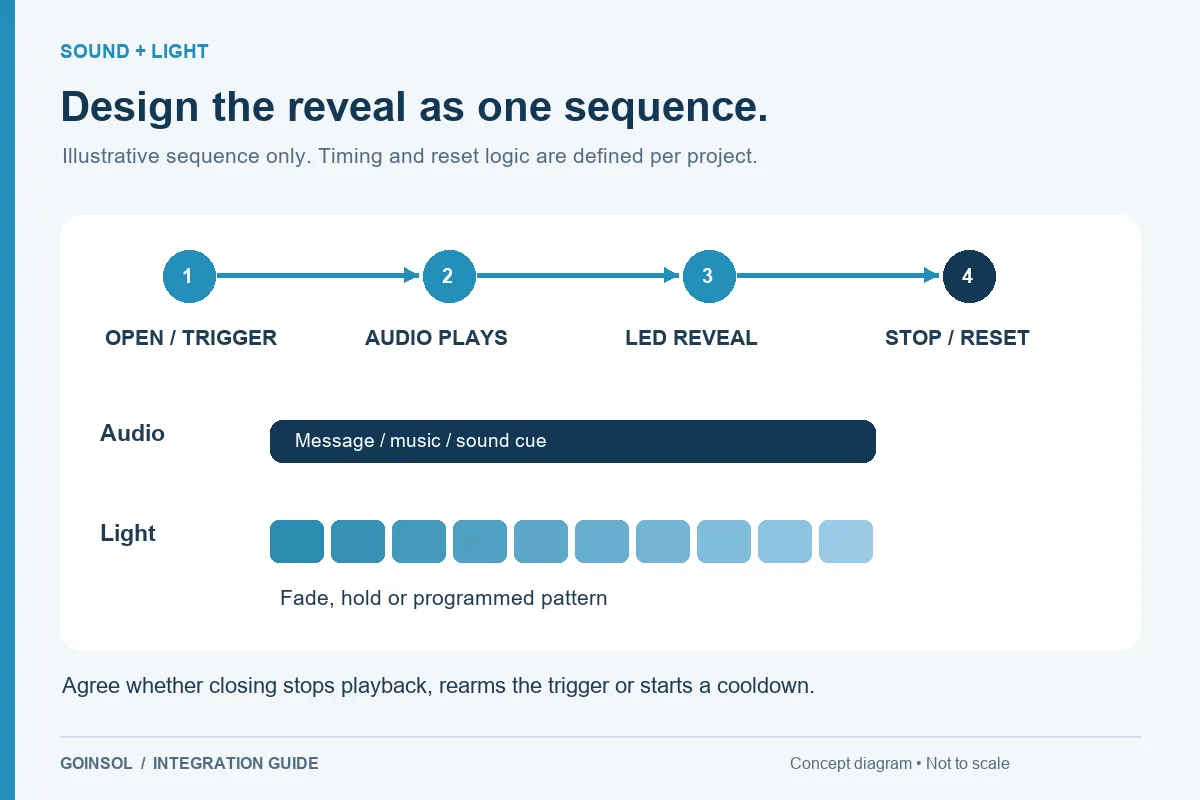
Specify steady illumination, a fade, a timed pulse or another required pattern. Explain how the effect starts, how long it runs and what stops it. If the box stays open, should the light stay on, time out or repeat? If an audio track is included, define the shared timeline. Reference videos can communicate the creative direction, but convert them into an agreed sequence so the same behavior can be reproduced and checked.
5. Plan power, wiring and heat
Provide the intended power source and any battery size or placement limit. Brightness, LED count and on-time affect energy use; the overall design also has standby needs and peak loads. Mark wire paths through hinges and moving parts, and allow room for connectors or secure joints. Ask the engineering team to review component temperature and material proximity where relevant. Packaging foam, thin lining and adhesive should not be treated as unlimited clearance or cooling space.
6. Evaluate the assembled sample
Check brightness, unwanted hotspots, color appearance, uniformity, activation, timeout, repeat operation and lid closure. View the sample from the recipient's angle, not only from the camera position. Confirm that wiring stays hidden and is not pinched during opening and assembly. Test with the intended battery and record the conditions used for any run-time estimate. A sample built around a different insert is not a complete optical approval.
What to send GOINSOL
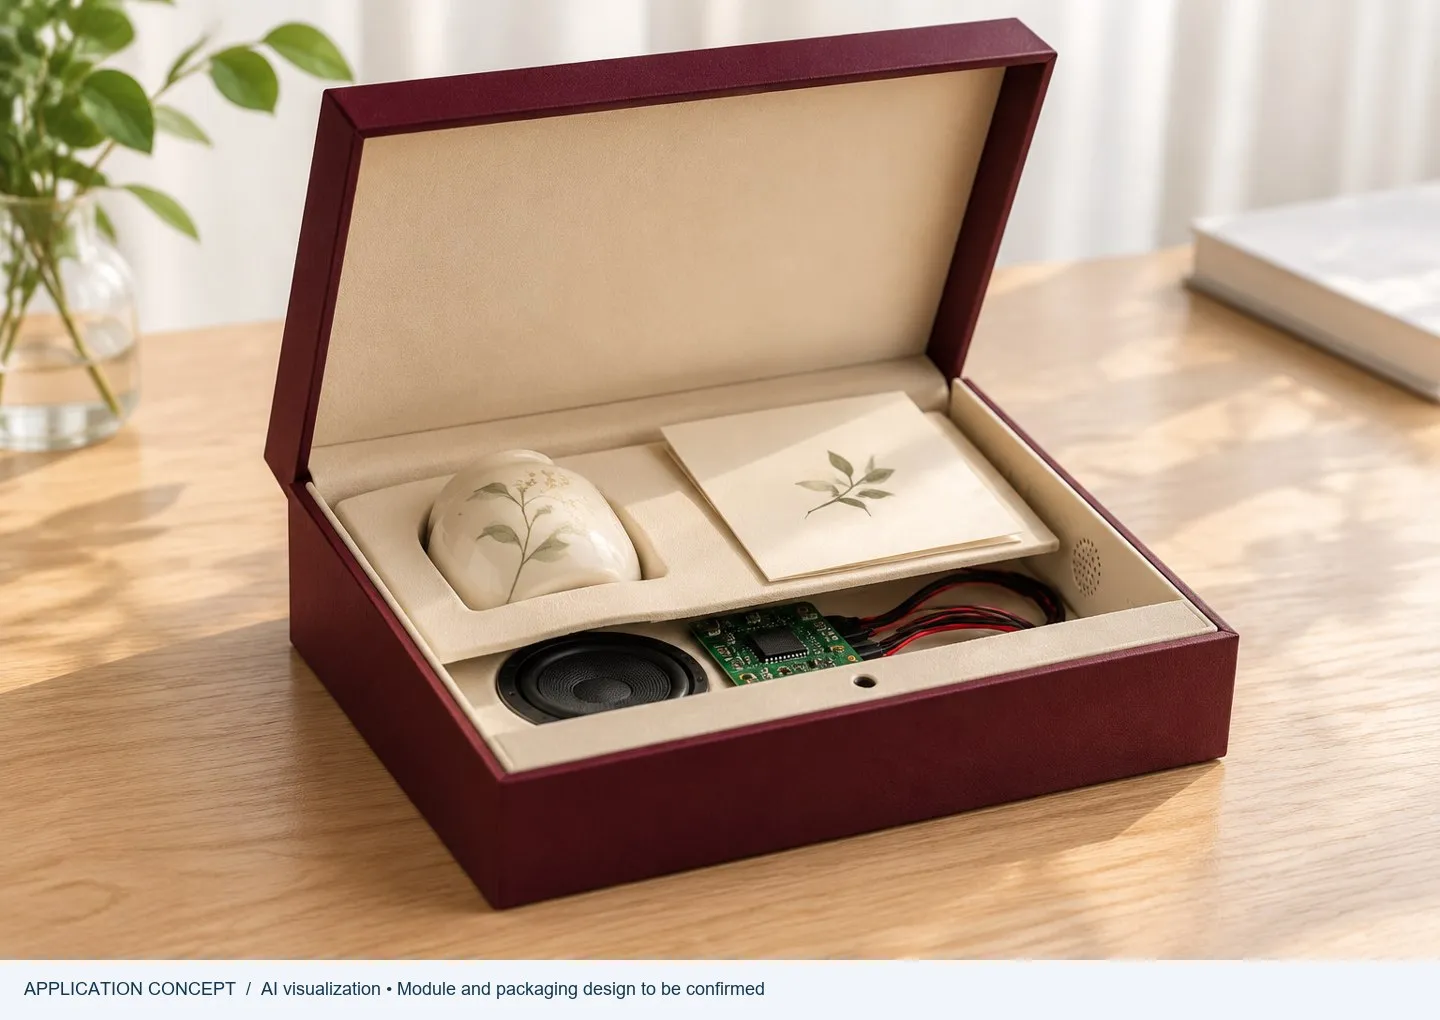
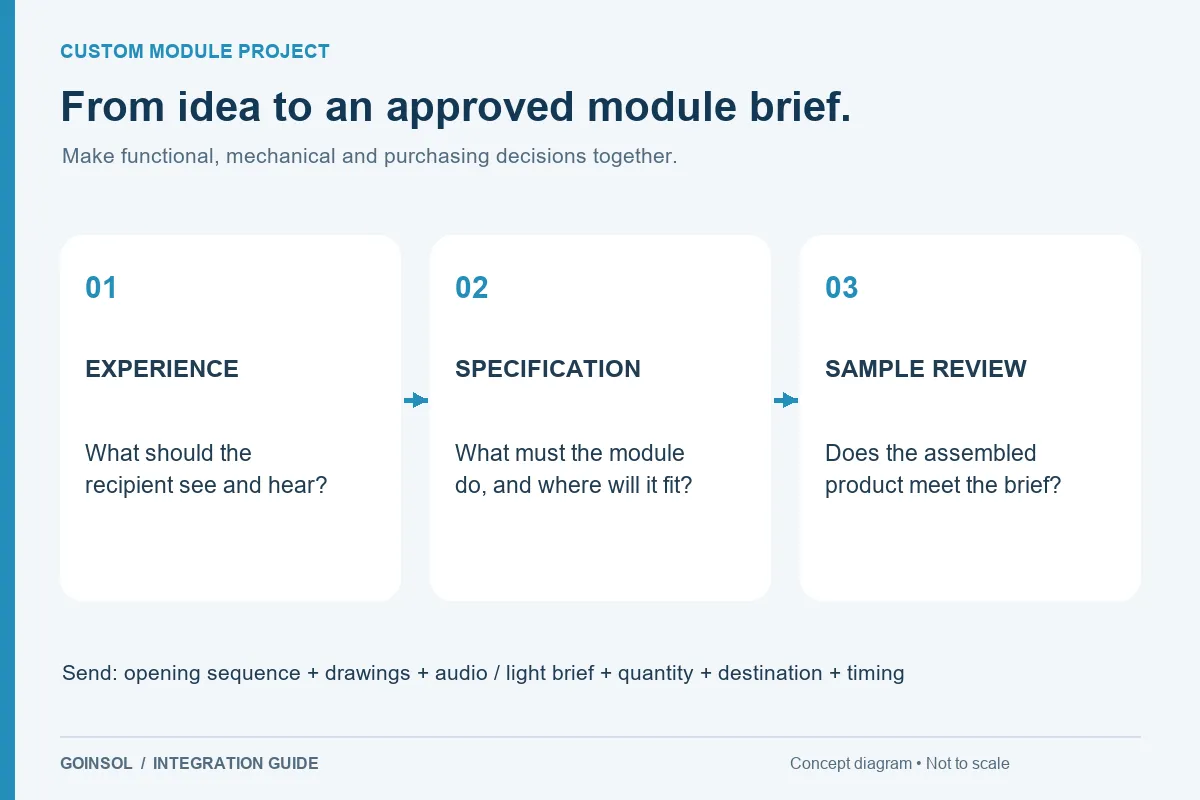
Send product and box photos, internal dimensions, desired illumination area, viewing angle, color direction, effect reference, activation and stop rules, power preference, storage and use expectations, quantity and destination. LED arrangement, board or wire format, mounting and final behavior are configured against the project. A concept image illustrates an idea; the agreed physical sample establishes the result.
DISCUSS YOUR APPLICATION