A practical layout checklist for speakers, sensors, LEDs, batteries, wiring and assembly access.
Good electronic packaging hides the engineering while making the interaction feel obvious. The recipient should see the gift, hear the message and understand any controls. Achieving that result requires space for real components and a sensible assembly sequence. A board that fits within the footprint may still fail to fit the usable depth, speaker cavity or closing envelope. Start the integration discussion before finalizing the insert tooling.
1. Share the usable space, not only outer dimensions
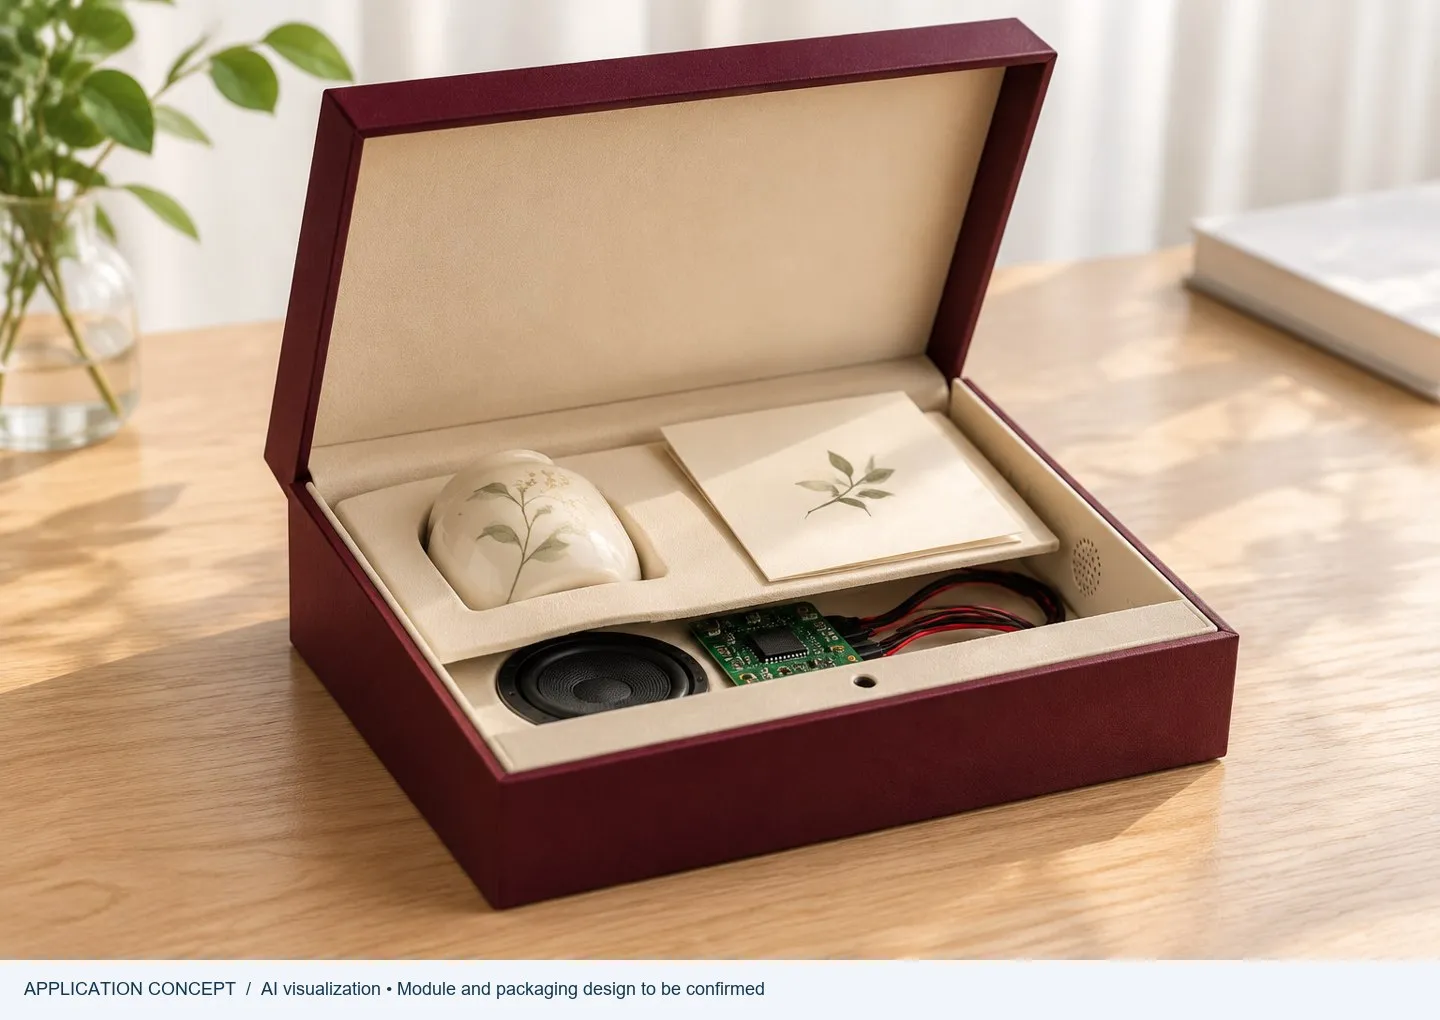
Provide internal length, width and depth after accounting for lining, foam, the gift and structural parts. Mark keep-out areas, hinge movement and the space occupied when the lid closes. Show where the board, speaker, battery and wiring can sit. A drawing or section through the box is especially helpful for shallow jewelry and watch packaging. Identify which dimensions are fixed and which can still change.
2. Give the speaker an acoustic path
Reserve depth and an opening toward the listener. Avoid clamping the moving part of the speaker or allowing the insert to press against it. Decorative fabric and foam may reduce clarity. Evaluate the selected speaker, cavity and outlet with the real materials, because the enclosure affects the result. A discreet grille can be effective, but its open area and position should be reviewed rather than chosen only for appearance.
3. Keep sensors and controls accessible
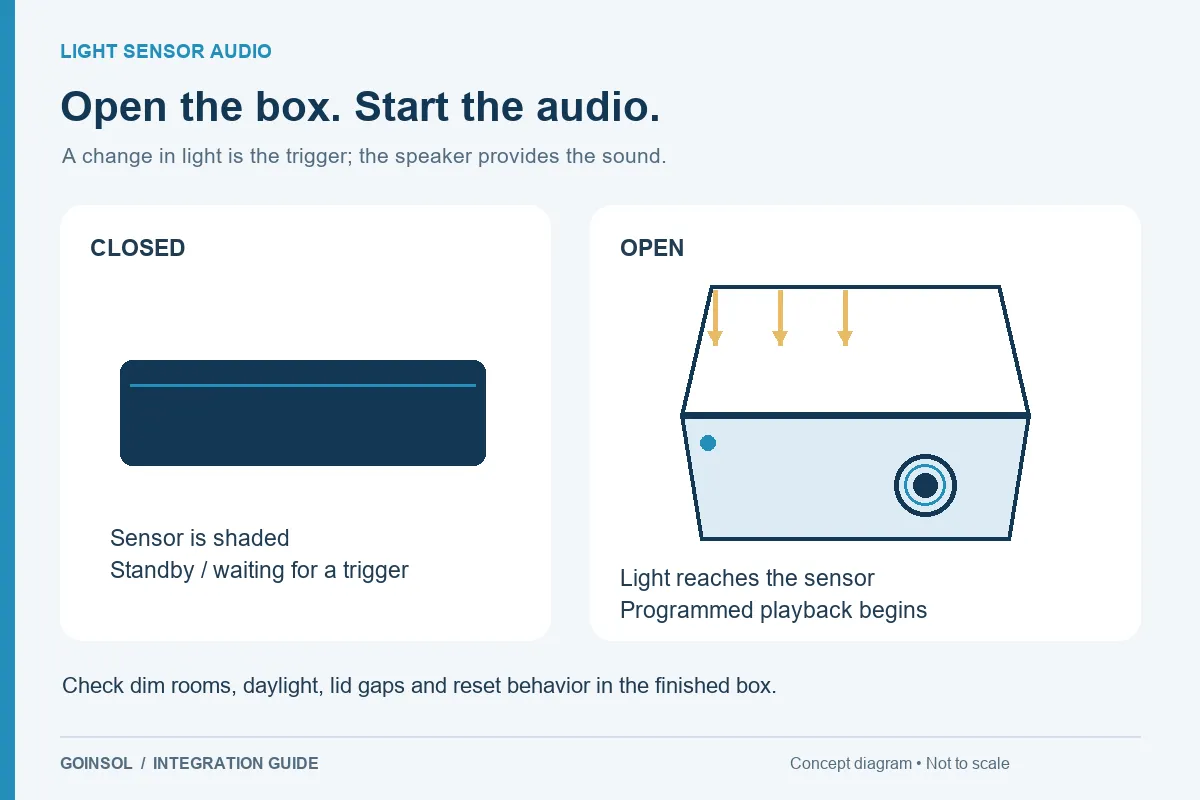
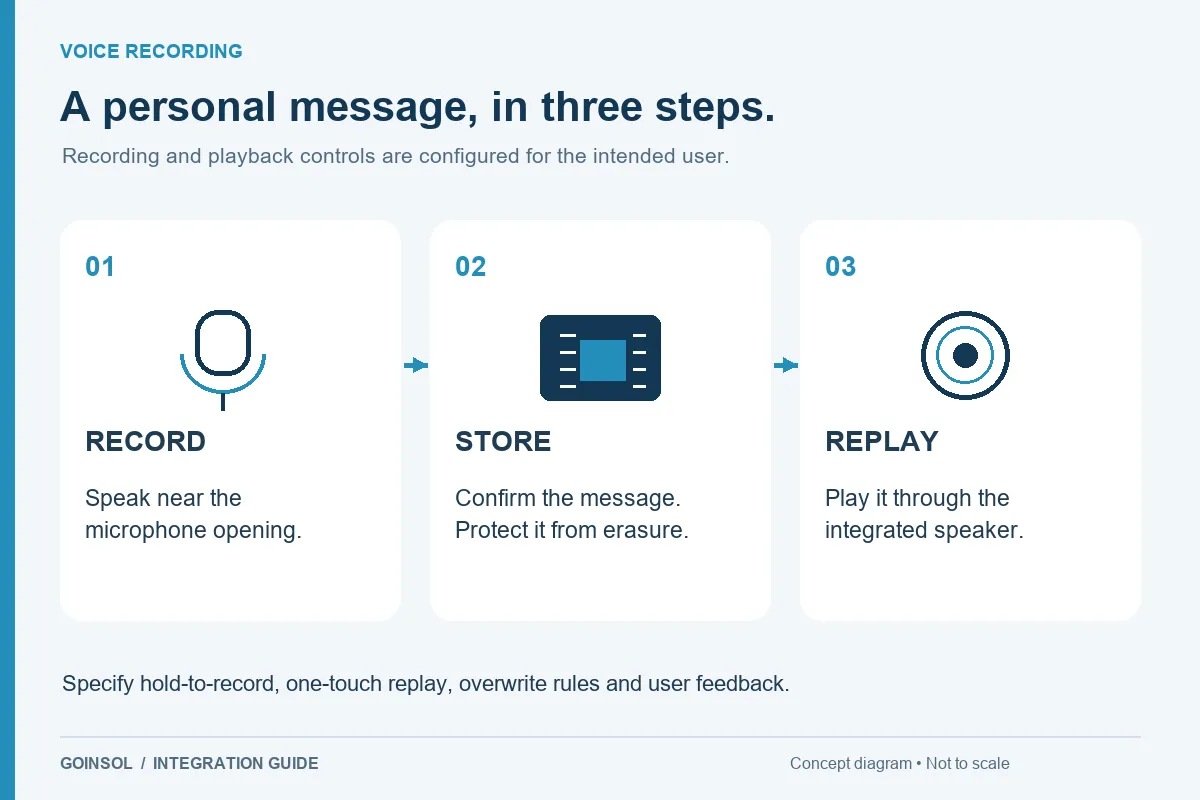
A light sensor needs an intentional light path when open and suitable shading when closed. A recording microphone needs a usable opening and speaking direction. Buttons must be accessible after the product is assembled and packed. Place the record control so ordinary handling is unlikely to replace the message. Draw these features on the same layout as the gift; separate electronics and packaging drawings can otherwise hide a collision or covered opening.
4. Design the light path
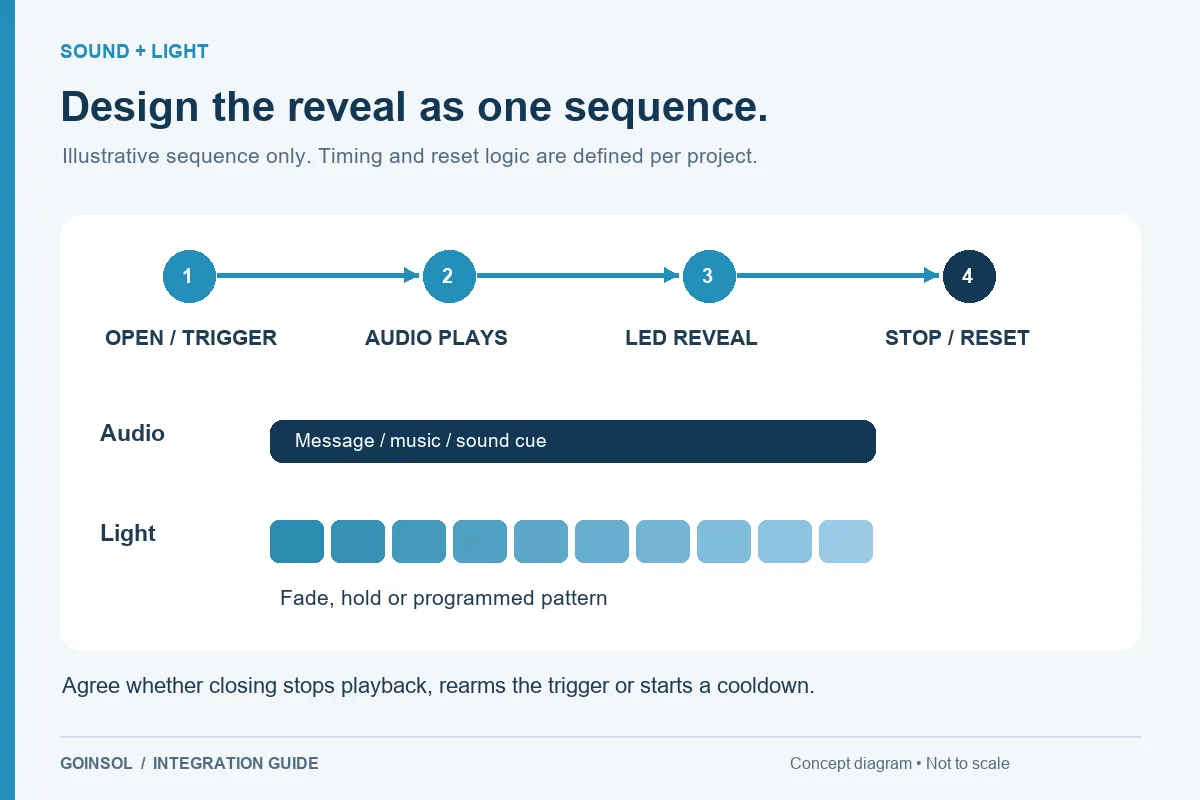
Locate LEDs where they illuminate the intended surface without exposing a harsh bright point to the user. Include the diffuser, light guide, shielding and mounting in the space allowance. Check reflections from polished jewelry and watch faces. Validate from the recipient's viewing angle and with the actual gift. A good photograph from one angle is not proof of a consistent presentation.
5. Route and retain every wire
Allow clearance for the wire bend, connector and strain relief. Avoid pinch points, sharp edges, hinge friction and tension when the lid opens fully. Consider how the assembly operator reaches the connection and how the module is secured without contaminating openings or stressing the board. Adhesive, clips, pockets and other mounting methods need review for the materials and handling conditions. Avoid relying on a loose wire bundle to position a component.
6. Agree assembly and test responsibilities
Define who installs the module, loads or records the audio, inserts the battery, applies any isolator and checks the finished unit. Establish a functional test before and after closing the insert. If several message or lighting variants exist, label them clearly to avoid mixing approved files or programs. Final product instructions, battery access and destination requirements belong in the joint review, not as assumptions left between suppliers.
What to send GOINSOL
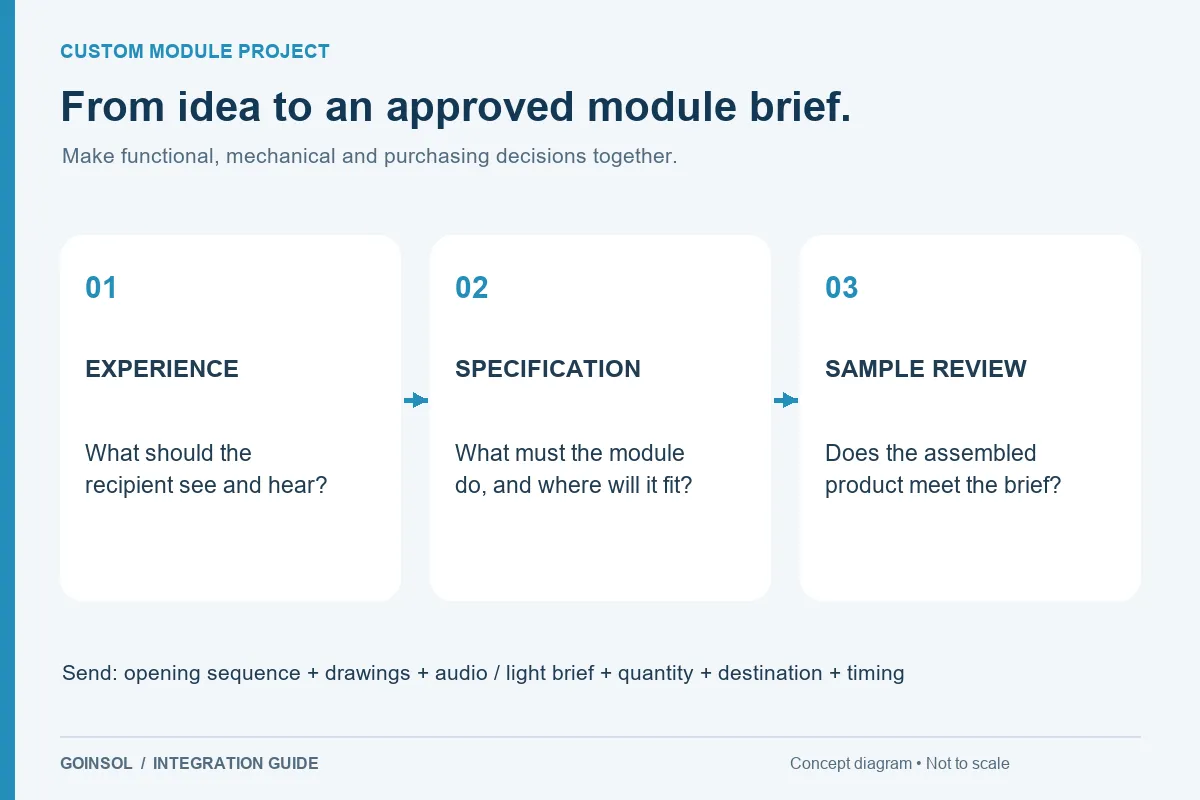
Share drawings, material information, photos of the insert and gift, opening video, intended component positions, access limits, assembly method, quantity and destination. GOINSOL supplies the electronic module and reviews integration requirements with your team. Your company or packaging partner supplies and manufactures the packaging. An assembled sample is the right basis for confirming clearance, presentation and function.
DISCUSS YOUR APPLICATION